
If you RV long enough, a flat tire will inevitably occur. However, many recreational vehicle owners don’t know the best way to fix an RV flat safely and efficiently, so we’re explaining all the details in this guide.
Don’t let an RV flat ruin your next camping vacation; learn how to fix a flat on a motorhome, travel trailer, or fifth wheel the right way by following the steps below.
Why RV Tires Go Flat
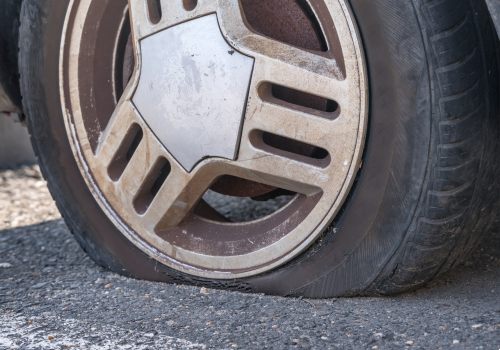
Most RV tires get flat when the tire pound per square inch (PSI) falls below the recommendations. When you travel at high speed on underinflated tires, the friction with the road surface heats the tire and will cause it to blow.
You may also pick up a nail or other object that impales the tire on your travels, which may go undetected until you speed down the highway and the air leaks out.
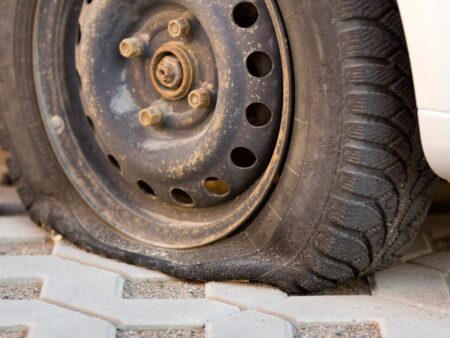
Damage to sidewalls from rubbing against curbs or other objects can also cause weakness that will eventually lead to bubbling and failure of the tire.
Putting tires on your RV that aren’t rated to handle the weight of your rig’s gross vehicle weight rating (GVWR) will also lead to a blowout. The RV owner’s manual should indicate the correct tire size and rating safe for your camper.
Why You Need to Know How to Change an RV Flat Tire
We all agree that it can be a bit scary thinking about fixing a flat on a large, heavy RV, especially one precariously perched on the side of a busy highway.
For this exact reason, many RVers pay for special roadside assistance packages that include flat tire repair. However, there will be instances where you can’t rely on a timely visit from your roadside assistance company, and you’ll need to change your RV tire on your own.
First, RV trips can take you to far-off places where cell phone service is terrible or outside your roadside assistance service’s “free” range. In this case, you’ll need to fix that flat yourself if you want to get back to your vacation or not pay a hefty surcharge for a technician to reach you.
Sometimes, you can’t want to wait for a flat tire repair service to arrive. For example, if it’s getting late in the day and you want to reach your camping destination before dark, you might not have the time to wait several hours for help.
Lastly, many roadside assistance services and local tire repair company rules state that their technicians cannot work on roadways that are not publicly maintained. This rule can leave you in a pickle if you’re on a backcountry road enjoying the scenery when your tire goes flat.
Luckily, changing an RV tire isn’t much different than doing so on a car or truck, and with the right supplies, and a few steps, and safety precautions, you can return your RV to the road in no time!
The Most Optimal Solution to Fix an RV Flat on a Motorhome, Travel Trailer, or Fifth Wheel
Before attempting to fix an RV flat tire, you’ll want to ensure you have all the supplies to get the job done quickly and safely.
Here is a checklist of supplies to store in your motorhome or tow vehicle:
- Spare tire (rated for your RV)
- Lug wrench (must fit your bolt size)
- Breaker bar and socket that fits your lugs
- Tire chocks
- Tire ramp jack or standard RV jack
- Tire pressure gauge
- Portable air compressor with air chuck of the correct size
- Wrench or socket to remove the spare tire from the holder
- WD-40 or similar lubricant
- Orange safety cones and road flares or lights
The best way to fix any RV flat is to follow the steps below:
Step 1. Find a Safe Place to Pull Over

Whenever possible, stop your RV in an area that is as flat and out of the way of traffic as possible. Keeping the flat tire on pavement will be easier and safer to change than in grass, gravel, or other soft materials where the weight of the RV may cause the jack ramp to sink.
Avoid stopping on any hills, as it adds pressure to the tires and allows gravity to roll your camper if the chocks aren’t secure.
Step 2. Check for Traffic and Place Cones or Flares
Give other drivers plenty of warning of your situation by setting cones far in advance of your RV. The faster the speed limit, the further back you need to place your warning cones, especially if the flat tire is on the side of the traffic.
Step 3. Remove the Spare Tire from the Holder or Storage Area
Often, RVs have the spare tire bolted to the rear or front of the camper on a bracket, which may take some strength to remove. Working stubborn bolts loose while the RV is on a jack can be dangerous.
Step 4. Loosen the Lug Nuts on the RV Flat Tire
Take your lug wrench and loosen the lug nuts a quarter or half turn on the wheel with the flat tire.
Please do not take the lugs off entirely or even loosen them very much. This step uses the weight of the RV in your favor to hold the wheel rigid only so you can break the lugs free.
However, you’ll still need to move the trailer or motorhome onto the ramp and need the tire to remain on the rim.
If lugs are stubborn to loosen, use the breaker bar and your foot to create more pressure to free the threads.
Step 5. Pull Onto the Ramp Jack or Place a Standard Jack
If you have dual axle or dual tires near your RV flat tire, you can roll the RV backward onto the nearest tire to the flat to fix it. This step should also raise the flat tire off the ground.
If your travel trailer, fifth wheel, or motorhome doesn’t have the extra tires to use a ramp jack, secure your standard jack into position following the instructions in your RV’s owner’s manual.
Engage your RV or tow vehicle parking brake once your RV is on the ramp and your jack is in position, but do not raise the jack until the brake is on.
Step 6. Chock RV or Tow Vehicle Tires
Chock the tires on the side opposite your flat. If you have extra chocks, place them on any other free tires on your RV or tow vehicle for extra assurance the RV won’t move during the tire change.
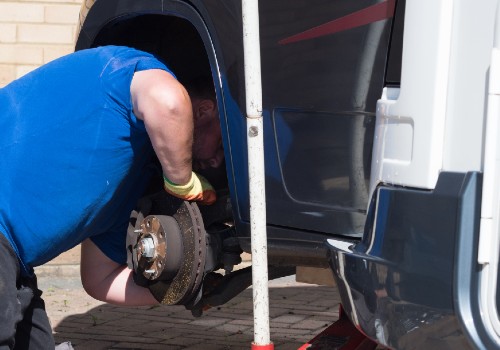
Step 7. Remove the Lug Nuts on the Flat Tire and Remove the Wheel
Take your lug wrench and fully remove all the lug nuts on the flat tire. Have a bucket or cup ready to hold the lug nuts, as they can easily get lost in the grass or gravel if you drop them and they roll or bounce away.
After the lugs are off, slide the wheel off the bolts by pulling them straight toward you. Lay the flat tire aside.
Step 8. Place the Spare Tire and Replace the Lug Nuts
Pick up your spare tire and align the holes in the rim with the bolts on the RV. Push the spare tire back as far as it can go.
Replace all the lug nuts on the bolts. Hand-tighten them enough to hold the tire, and then go around with the lug wrench to firm them up. Go around one more time with the wrench to take up as much slack as possible.
Step 9. Lower Jack or Remove Wheel Chocks and Drive Off the Ramp
You can now lower your standard RV jack until the tire settles on the ground, or go around and remove the chocks, disengage the parking brake, and drive your trailer or motorhome off the ramp jack.
Replace a chock or two once you take the RV off the ramp.
Step 10. Finish Tightening Lug Nuts on Spare Tire
Now that the weight of the RV is back on the spare tire, you can take a final turn, making sure each lug nut is nice and tight so the wheel stays secure when you begin to drive again.
Step 11. Store the Flat Tire and Put Away Supplies
After you fix the RV flat tire, bolt it back into the place you had the spare. Return all tools, cones, chocks, and ramps to their storage area, except your tire pressure gauge.
Step 12. Check Air Pressure in All RV Tires
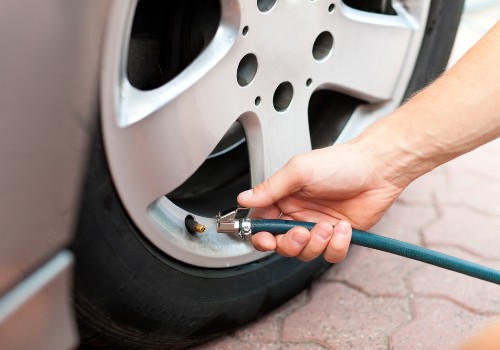
Before you hit the road, take the time to check the PSI in all your tires and top off any that are low with your air compressor.
You’re now ready to get back to your travels. Start slowly to ensure your spare tire is running smoothly. Then, hit the nearest tire store to replace the flat with a new quality RV tire.
Does Fix-a-Flat Really Work? (Video)
How to Prevent Flat Tires on Recreational Vehicles
While we can’t guarantee that following these tips will avoid all flat tires, they will help reduce the chances of a blowout.
Continually Monitor Tire Pressure
Want to Connect With a Community of Over 1,078 RV Enthusiasts?
Travel and temperature changes stress your tires, which can lower PSI on even a short journey to a nearby campground.
If you don’t have an RV tire pressure monitoring system (TPMS) on your motorhome or camping trailer, check the PSI of all tires every time to stop for fuel or to rest after driving for several hours. Also, check PSI before leaving your campsite.
If you see tire pressure is low or even too high, fix the issue right away. It’s best to carry a small air compressor with the strength to fill RV tires.
Evenly Balance RV Load
RV tires need to handle the excessive weight load of the camper box, along with all the furniture and camping supplies you pack inside. The weight distribution needs to be even across the axles and front-to-back so all tires carry a similar amount of pressure. If you have to fix an RV flat, you’ll have a good idea of what did it.
If you load boxes of heavy canned goods, water, or sports gear on only one side of your RV and place clothing, bags of chips, and other lightweight items on the other side, the imbalance will place much more pressure on the tire or tires on that side, which could lead uneven tire wear and an eventual blowout.
We suggest you take your fully loaded recreational vehicle to a weigh station and put it on the scale.
It’s helpful to use a scale that measures tire weight separately to know if the overall weight is within your GVWR (Gross Vehicle Weight Rating) and if one tire is taking too much weight.
Protect RV Tires from the Elements
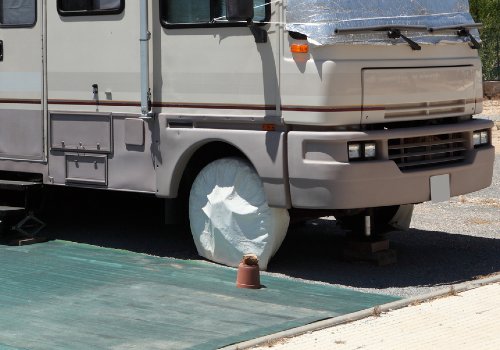
A great way to help protect your tires is to invest in quality RV tire covers that will keep rain, snow, ice, dirt, and UV rays from deteriorating the rubber while camping or during storage.
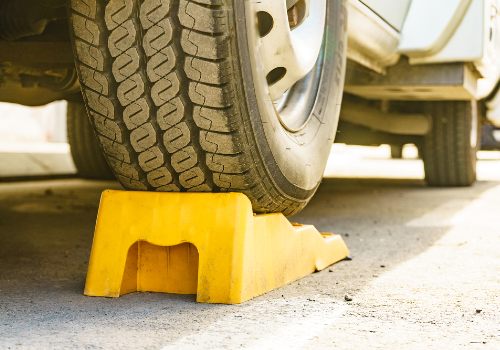
Parking your RV in water, mud, or even concrete for long stretches can damage tire rubber, so use blocks to raise tires out of harm’s way. For long-term storage, use curved tire-saver ramps to maintain tire shape and integrity.
Replace Old Tires No Matter How Good They Look
RV tire rubber begins to deteriorate as soon as the tire rolls off the factory floor.
You need to know how to check the age of tires so you can get the freshest set when you replace tires on your fifth wheel, travel trailer, or motorhome and not the oldest tires the shop has in inventory, which could be a year old or more.
Most RV tires will have a life expectancy of three to five years. However, depending on the climate where you camp and how often you travel, tires may wear out sooner or look pristine when their lifespan is up.
Are Your Tyres Too Old? (Video)
When tires look great, many RVers get complacent and prolong getting a new set because the cost will set them back hundreds, if not thousands of dollars.
Unfortunately, doing so may result in a catastrophic blowout that causes a severe accident or extreme damage to your RV that can put it out of commission for good or will cost much, much more to repair than that set of new tires.
Tire rubber can only perform its duties for so long, so don’t tempt fate by waiting to replace out-of-date tires.
RV Flat Tire Repair Wrap-Up
Don’t let an RV flat intimidate you! Instead, use this guide on the best way to fix an RV flat so you aren’t waiting for help while your vacation plans go down the drain.
Being an RV owner is full of new experiences, and sometimes, that’s changing your first flat RV tire, so knowing how to do so safely is a great skill to master!


")

"Man cannot discover new oceans unless he has the courage to lose sight of the shore."
-- Andre Gide


